|
|
The RV meter automatically conducts gemagnetization calibration by sampling direction data while the vehicle is normally driving. The calibration can be done manually at any time.
|
|
|
1.
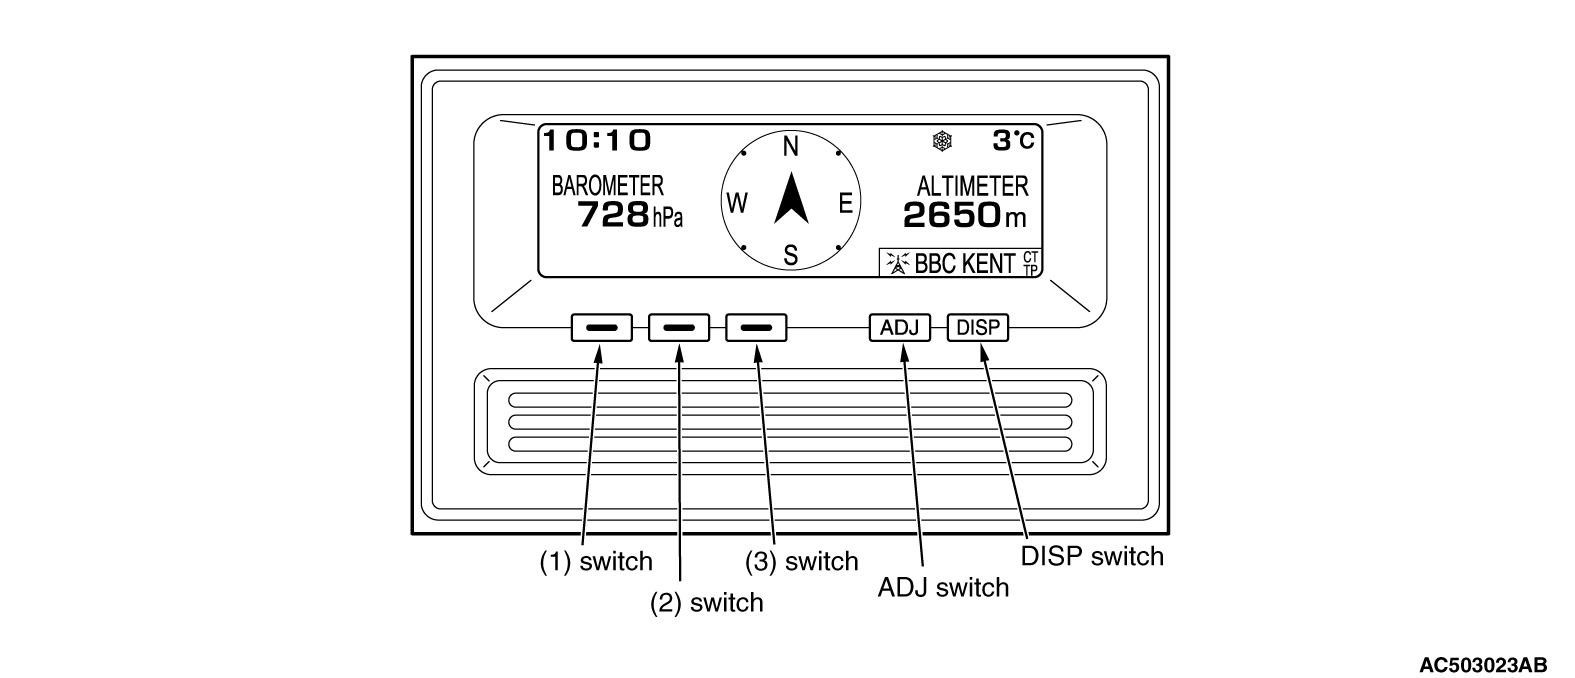
Press function switch 3 for three seconds or more during the environment information screen to call up the screen as shown in the illustration.
|
|
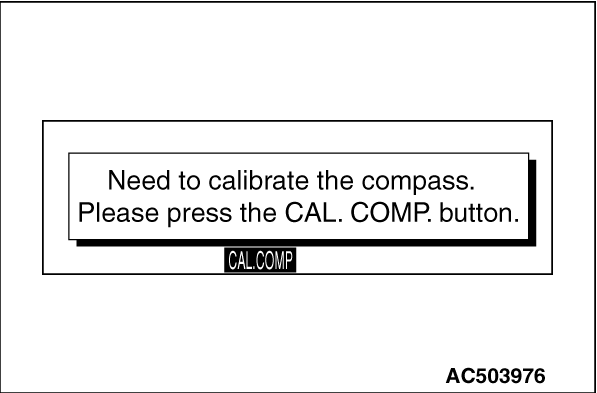
2.When function switch 3 (CAL.COMP) is pressed, a message of urging gemagnetization calibration is displayed.
|
|
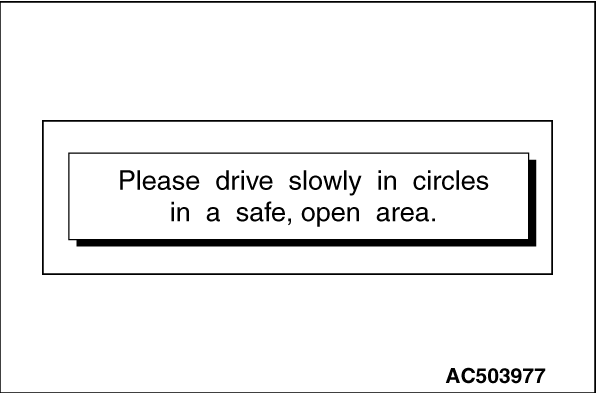
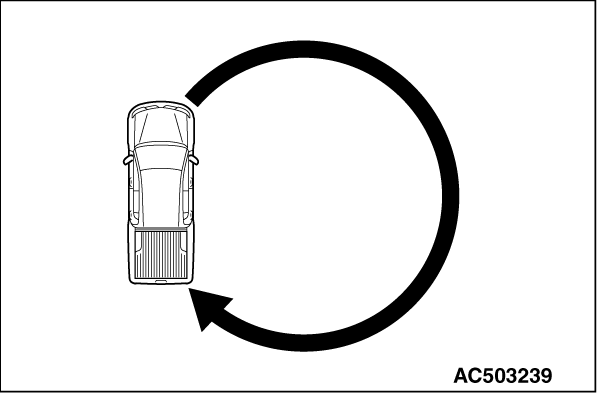
3.Drive around the vehicle.
| note |
When driving around the vehicle to correct the sensor, select a safe and open area where there are no structures exist such as the high-tension line and the iron bridge that affect the geomagnetic sensor in circumference.
|
|
|
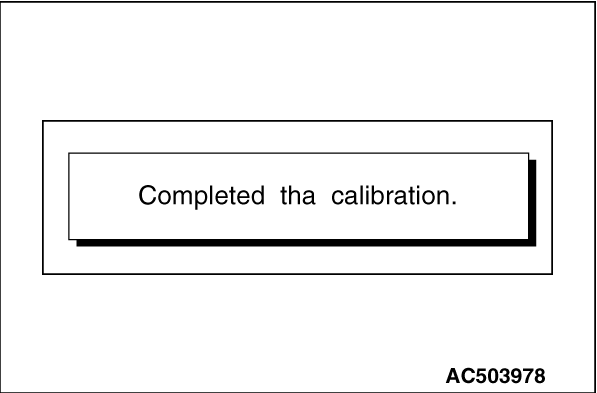
4.A message of completing gemagnetization calibration is displayed.
- When pressing "DISP" and "ADJ" switches
- When pressing function switch 3 (CANCEL)
- When turning the ignition switch to the "OFF" (LOCK) position
|
|
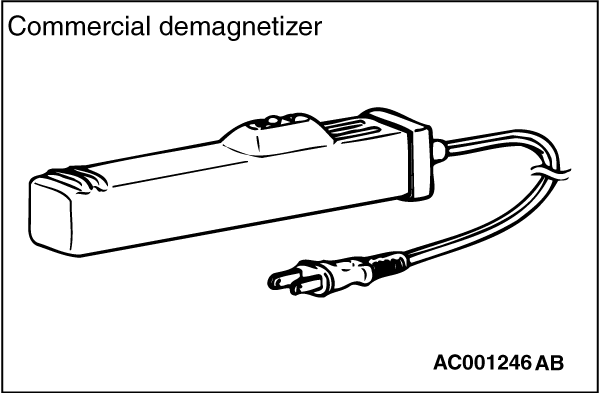
1.Demagnetize the body using a commercial demagnetizer.
|
|
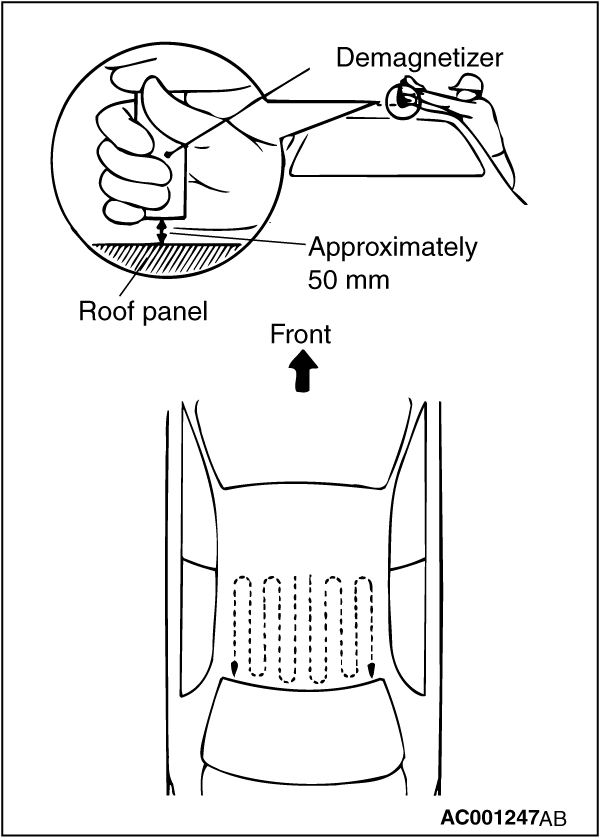
2.While keeping the distance between the tip of demagnetizer and the roof panel to approximately 50 mm, move the demagnetizer slowly with a sweeping manner on the rear-half surface of roof panel.
| caution |
If the tip of demagnetizer touches the roof panel, the magnetizing condition of body becomes worse to the contrary. Absolutely avoid this.
|
3.Slowly draw the demagnetizer apart from the body. Turn OFF the switch of demagnetizer when it is apart from the body more than 50 mm.
| caution |
If the demagnetizer is turned OFF near the body or it is suddenly separated from the body, the magnetizing condition of body becomes worse to the contrary. Absolutely avoid these.
|
4.After degeomagnetization, gemagnetization calibration is carried out . .
|