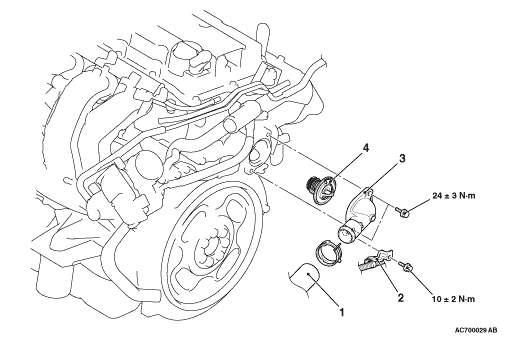
REMOVAL AND INSTALLATION <4B10>
Pre-removal operation
|
Post-installation operation
|

 |
|
REMOVAL SERVICE POINT |
<<A>> RADIATOR LOWER HOSE DISCONNECTION |
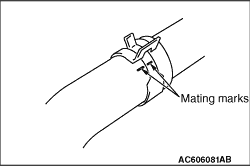 |
Make mating marks on the radiator lower hose and the hose clamp. Disconnect the radiator lower hose. |
INSTALLATION SERVICE POINTS |
>>A<< THERMOSTAT INSTALLATION |
|
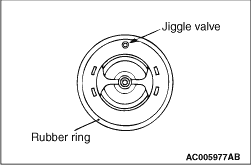 |
Install the thermostat with care to avoid peeling or damage to the rubber ring. When installing the thermostat, face the jiggle valve of the thermostat upward. |
>>B<< RADIATOR LOWER HOSE CONNECTION |
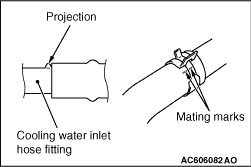 |
1.Insert the radiator lower hose to the protrusion of the cooling water inlet hose fitting. 2.Align the mating marks on the radiator lower hose and hose clamp, and then connect the radiator lower hose. |