INSPECTION PROCEDURE A-1: The Sunroof does not work at All.
| caution | Whenever the ECU is replaced, ensure that the input and output signal circuits are normal. |


COMMENTS ON TROUBLE SYMPTOM
POSSIBLE CAUSES
- Malfunction of the sunroof switch
- Malfunction of the sunroof motor assembly (sunroof-ECU)
- Damaged harness wires and connectors
DIAGNOSTIC PROCEDURE
STEP 1. Check the power window main switch.
Q.
Is the check result normal?


STEP 2. Pulse check
|
Q.
Are the check result normal?


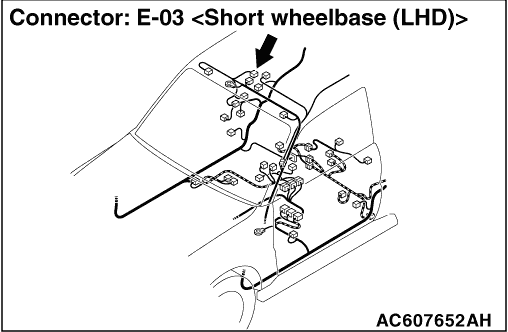
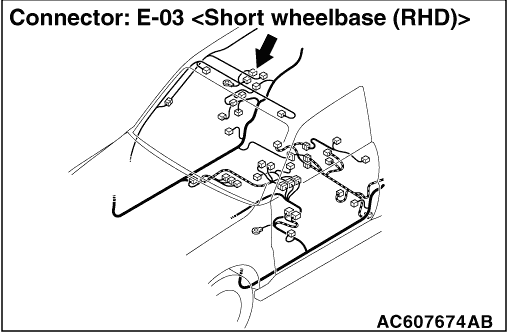
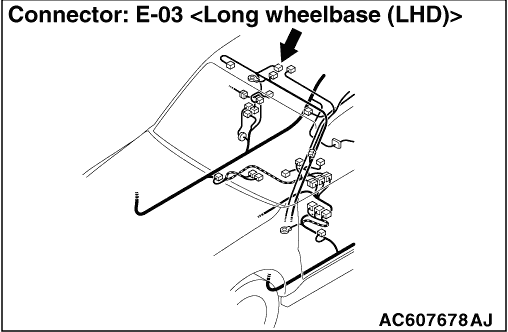
STEP 3. Connector check: E-03 sunroof motor assembly connector
Q.
Is the check result normal?
STEP 4. Voltage measurement at the E-03 sunroof motor assembly connector.
| (1)Disconnect the sunroof motor assembly connector, and measure at the harness side. |
| (2)Check the voltage between the E-03 sunroof motor assembly connector terminal No.1 and body earth. OK: System voltage |
Q.
Is the check result normal?
STEP 5. Check the wiring harness between E-03 sunroof motor assembly connector terminal No.1 and the fusible link (4).
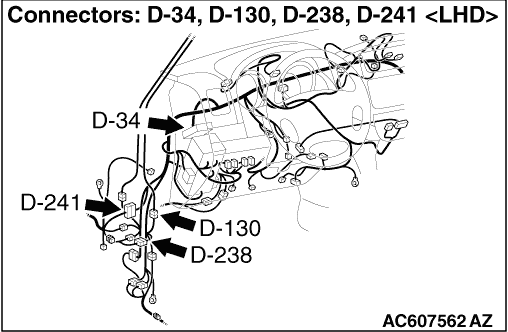
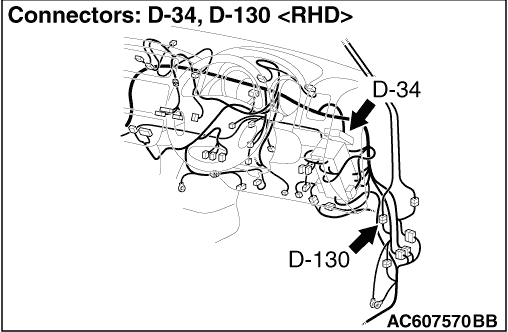
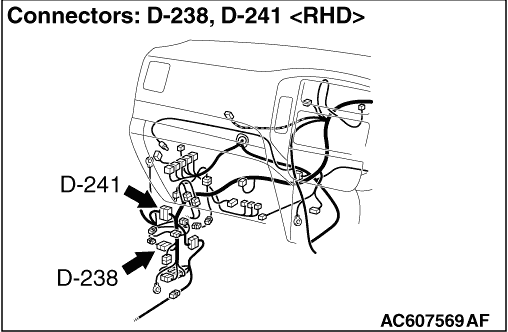
| note | Prior to the wiring harness inspection, check intermediate connectors D-130 and D-238, and repair if necessary. |
- Check the power supply line for open circuit.
Q.
Is the check result normal?
STEP 6. Voltage measurement at the E-03 sunroof motor assembly connector.
| (1)Disconnect the sunroof motor assembly connector, and measure at the harness side. |
| (2)Ignition switch: ON |
| (3)Check the voltage between the E-03 sunroof motor assembly connector terminal No.2 and body earth. OK: System voltage |
Q.
Is the check result normal?
STEP 7. Check the wiring harness between E-03 sunroof motor assembly connector terminal No.2 and the ignition switch (IG2).
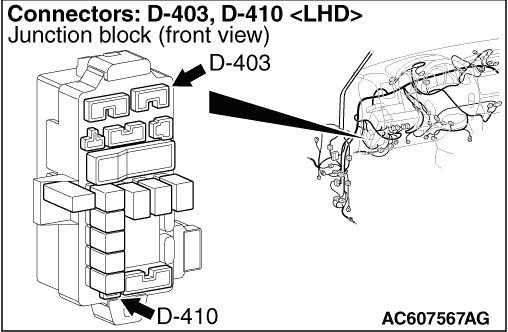
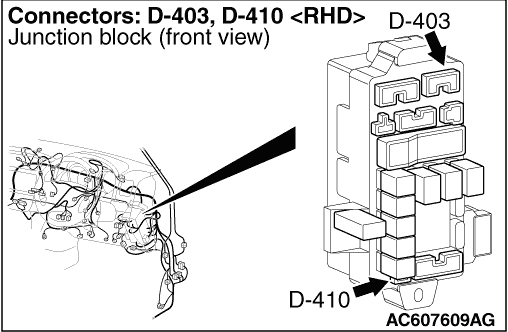
| note | Prior to the wiring harness inspection, check junction block connectors D-403, D-410, intermediate connector D-130, and repair if necessary. |
- Check the power supply line for open circuit.
Q.
Is the check result normal?
STEP 8. Voltage measurement at the E-03 sunroof motor assembly connector.
| (1)Disconnect the sunroof motor assembly connector, and measure at the harness side. |
| (2)Ignition switch: ON |
| (3)Check the voltage between the E-03 sunroof motor assembly connector terminal No.3 and body earth. OK: System voltage |
Q.
Is the check result normal?
STEP 9 Check the wiring harness between E-03 sunroof motor assembly connector terminal No.2 and the fusible link (1).
| note | Prior to the wiring harness inspection, check joint connector (4) D-34, intermediate connectors D-130, D-241, and repair if necessary. |
- Check the power supply line for open circuit.
Q.
Is the check result normal?
STEP 10. Resistance measurement at the E-03 sunroof motor assembly connector.
| (1)Disconnect the sunroof motor assembly connector, and measure at the harness side. |
| (2)Check the resistance between E-03 sunroof motor assembly connector terminal No.5 and body earth. OK: Continuity (less than 2Ω) |
Q.
Is the check result normal?
STEP 11. Check the wiring harness between E-03 sunroof motor assembly connector terminal No.5 and body earth.
- Check body earth line for open circuit.
Q.
Is the check result normal?
STEP 12. Retest the system.
Q.
Is the check result normal?